Wow, this project has been a long time comin'! I think I've been working on it since... February??
We've just been so busy the past few months that I've only had time to sit down and work on it here and there. I'm glad it's finally finished! I love how it turned out!!
We had a nice big blank wall behind the table in our dining room and were unsure what to do with it. We couldn't seem to find any art that we liked, so I decided to make some DIY dining room art. One day I was walking through the craft store (one day... more like every day!) and blank canvases were on sale in all sizes!! Score! I bought the biggest one I could fit in my car for the dining room wall (and a few other small ones for various other projects like my "Love lives here" canvas!).
Then over what seemed like weeks, I looked for inspiration. I decided I wanted to do some word art of some sort (Of course! That's my thing!) and started looking for quotes that had something to do with the dining experience (it is a dining room after all!). I thought about how we probably won't get much use out of our dining room until we have kids except for holidays... like Thanksgiving. Thanksgiving... thankful... give thanks... In all things, give thanks! Perfect! A great bit of advice from the good Book too (1 Thessalonians 5:18)!
So I got to work using my font transfer method.
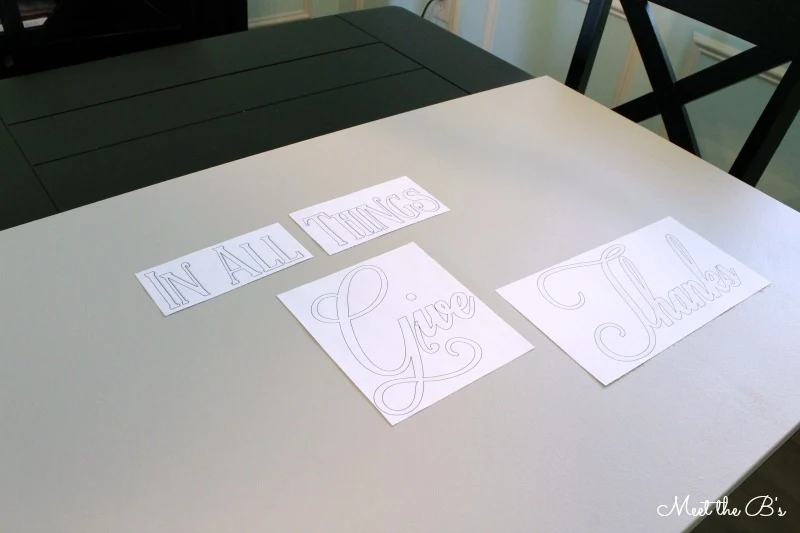
First, I painted the whole canvas with a roller using leftover paint from the living room. I printed out my words, cut them to size, and played with the layout until I found what I liked.
Then I flipped over each word and shaded the back with a lead pencil. You want to shade it in pretty dark so that there is enough lead to transfer over.
Then I taped each word in place with painter's tape to keep them from moving while I traced.
Trace the outline of each letter with a pencil or pen. Press kind of hard in order to get the lead to transfer, but be careful if you are using canvas! You don't want to stretch it out from applying weight or pressure.
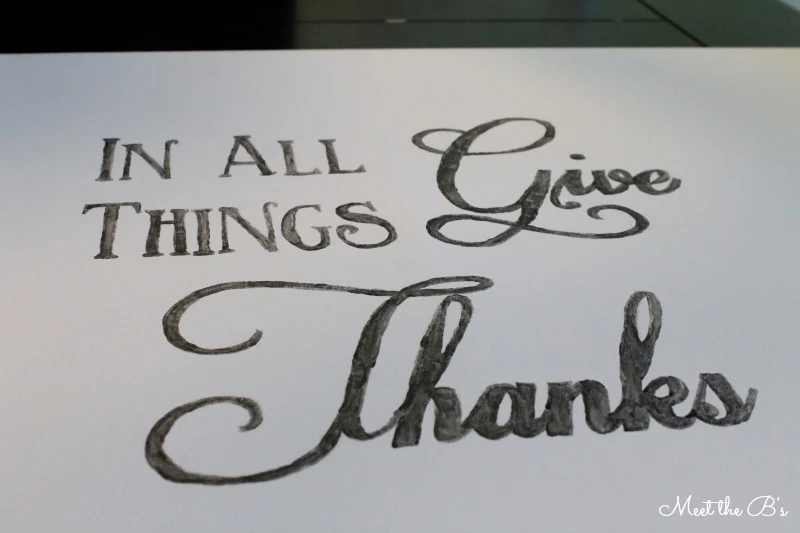
When you're finished, you should have faint letters on your canvas that you can now easily trace! For this project, I started tracing with a permanent marker, but the ink was bleeding and spreading, so then I used acrylic paint with a small paint brush.
I thought it looked really sloppy, so I went over it a second time with a fine tip paint pen.
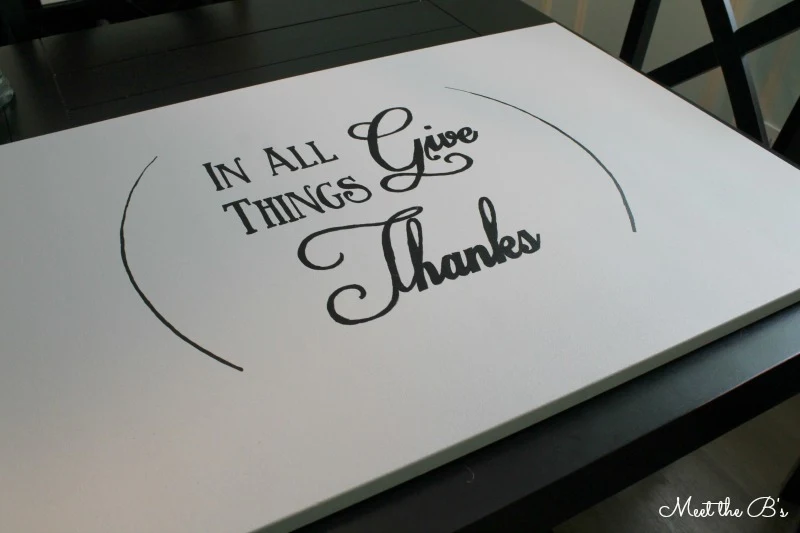
Much better! I left it on the wall like this for a day or two to decide what to do with it. It needed a little something else...
This morning, I decided to add laurel branches! Because who doesn't LOVE laurel branches?!?! :)
So I started by making parentheses on both sides with my paint pen. I went back over them and widened them a little towards the bottoms.
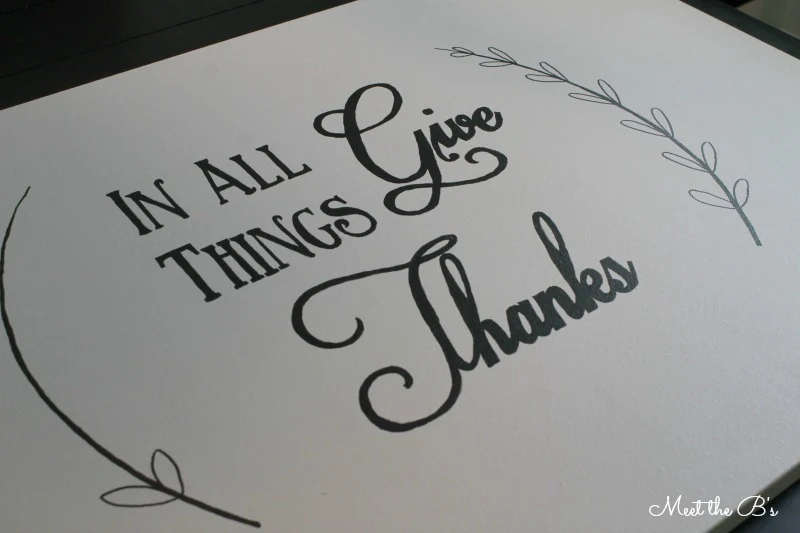
Then I free handed some laurel leaves after practicing on some scrap paper first. I completed one side first and then the other so that I could keep the leaves somewhat balanced and even.
And here it is finally! Took me long enough! Tah dah!
Now I'm just debating whether to color in those leaves or not! Thoughts??
Our dining room looks happier already :)
 >>> See where I link up each week! <<<


This is gorgeous! I think it looks great as is - no need to fill in the leaves! I love the simple, clean, classic look and the words you chose were perfect for a dining space! Love it.
ReplyDeleteThank you so much for the kind words Erica! I'm really happy with how it turned out :)
DeleteWOW! This is SO pretty and such a neat process!!! Definitely going to have to try this for myself!
ReplyDeleteI love how your projects are never perfect the first time and you show how you corrected it. Sometimes I'm too quick to give up and think I've failed!
ReplyDeleteThe branches are a great addition. and I vote for a little color!
Thanks Bex! Projects are neverrrrr perfect the first time it seems!
DeleteLooks great on your wall!! Love for you to link up at Share it Sunday... live Sat at 8PM. http://sondralynathome.com/category/share-it-sunday/
ReplyDeleteThanks Sondra! Glad you like it!
DeleteI love the simplicity and would leave it as is, but that's just me. Thanks for sharing on Merry Monday Linky Party.
ReplyDeleteThanks Erlene! Now that it's been hanging for a bit, I think I like it as is too :)
DeleteYou've been featured at Link'n Blogs! Stop by to see your feature and link up more fab posts!
ReplyDeletehttp://iputabirdonit.blogspot.com/2014/05/linkn-blogs-26.html
xo
Daniela
Put A Bird On It
Thanks so much for featuring me!!! :)
DeleteOh my god! You are so creative. I love that wall quotes decal.
ReplyDeleteThanks so much! It's actually not a decal! I hand painted it :)
Delete