In the Outdoor Makeover Challenge reveal, I promised to share with you how I made our DIY bar cart! It's the perfect addition to our patio, adding a little pop of color and providing a place to put snacks, beverages, or dishes while entertaining guests. When there are no visitors, it's a great place to keep pretty planters! I'm so excited to share the details with you today!
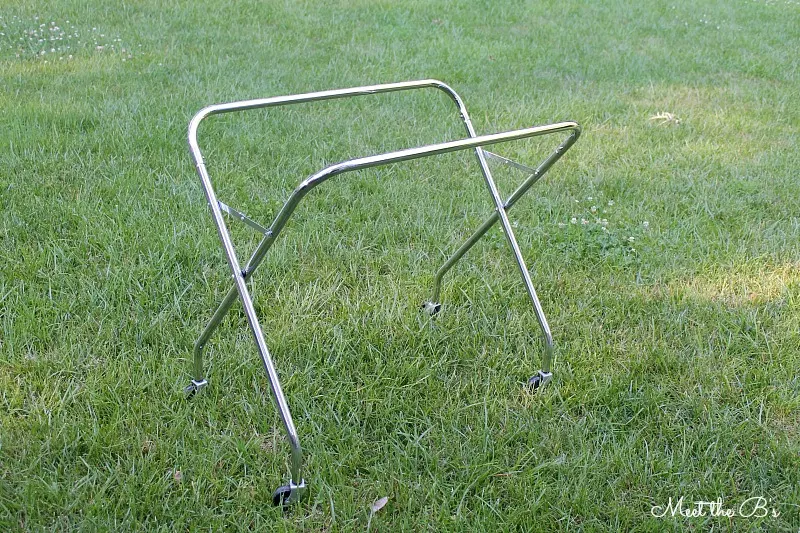
A few years ago, I was living in a basement apartment without a lot of storage, so I was a frequent flyer at The Container Store in my attempt to create organization in my tiny little space. On one of those many trips, I purchased this laundry sorter...
Unfortunately, it didn't last very long because one of my cats thought inside of the laundry bags was a good place to sleep, so eventually the seams ripped apart and the bag was destroyed. With the $60 price tag, I didn't throw the cart away right away in hopes that I could repurpose it somehow. Years later... still sitting in the garage!
When Kristi from making it in the mountains asked me if I wanted to participate in an outdoor makeover challenge, I knew I wanted to find or create a bar cart for the patio. We have a lot of scrap wood in the garage, so I was digging through it one day to see if there were any usable pieces for a table top and I spotted this cart out of the corner of my eye. Perfect!!
After dusting it off, I gave it a coat of navy blue spray paint (Rustoleum's navy blue) to match the rest of our patio decor.
After building our window box, I decided to use that leftover wood to create the tabletop for the bar. Using those planks would allow me to achieve a look at least kind of similar to the table we bought from Ikea. The cedar fence pickets are only $1.64 a piece!
We cut them to size and gave them several coats of primer. The primer was free because the previous homeowners lefts tons of paint and primer in the basement!
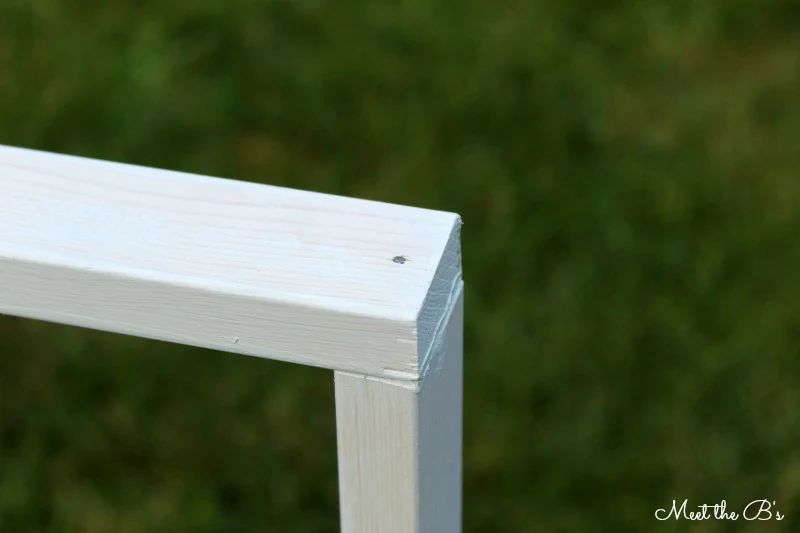
Then we created a frame out of 1 x 2's we had laying around the garage and primed it. (We ended up making a second frame at the last minute to accommodate the size of the bottle opener.)
We laid the cedar planks across the top of the frame and carefully nailed them into the frame. Then I coated the whole thing with grey spray paint. I used Rustoleum's "stone grey." (When we later added the second frame to the bottom, we just used wood glue to hold it together).
Once everything was installed, I gave the whole thing a coat of Rustoleum's sealant to protect it from the sun and then had lots of fun picking out accessories to go on top of it :)
I'm so happy to see the transformation that little laundry cart had!! What would you have turned it into to?
Check out the rest of my outdoor makeover:


Nicole this is awesome! I never would have guess it was made out of an old laundry basket! Love it. Pinned!
ReplyDeleteThanks Bre! I think this my favorite repurposing project I've ever done!
DeleteThis is SO BRILLIANT Nicole! I never in a million years would have thought to use a laundry cart, but with the wheels and fold-able legs, it's totally PERFECT!
ReplyDeleteThanks Kristi!! I'm glad I finally found a use for the laundry cart :)
DeleteClever and chic! Pinning! Visiting from the Blog Hobnob. New social media follows too!
ReplyDeleteThanks for stopping by, Michelle! :)
DeleteWhat a great use of the laundry cart frame! Genius :) Thanks for linking up with us at The Makers!
ReplyDeleteCorey @ TinySidekick.com
Thank you, Corey! I'm glad I hung on to the frame all this time waiting for the right inspiration to come along!!
DeleteLove this! What a clever use for that old laundry cart. My cats would have napped in it/torn it up, too! So glad you could turn it into an amazingly awesome bar car! I love it :)
ReplyDeleteMy cats find a way to make everything their own personal lounge! I take it as a sign that they love my taste in decor ;)
DeleteNicole I love this!! It turned out great, and I never would have thought to repurpose an old laundry cart like this!!
ReplyDeleteThank you! It's so much fun to find new uses for things!!
DeleteThis is brilliant! Dig this. Awesome job Nicole :)
ReplyDeleteThanks so much! :)
DeleteVery creative...love the cart. I need something like this on my back porch for sure!
ReplyDeleteThanks for sharing!
Thanks Bobbi! I love having a bar cart out there now! It's great to have the extra serving space!
Deletewhat a great idea! we really need something like this on our back patio. Thanks for sharing
ReplyDeleteThanks! You should try making one too!
DeleteWow I love this! It would look so good basically anywhere! I wish I had an eye for that much creative flare. I'd be forever building things, if I was entrusted with tools haha! Love the post!
ReplyDeletewww.kateez.co.uk
Thank you Katy!!! Our outdoor makeover is the first time I've ever really built anything out of wood and it really wasn't as hard as I thought!! Can't wait to come up with more projects!
DeleteVery cool!
ReplyDeleteI love a great repurpose project!
Thanks! It's fun to give things a new purpose :)
DeleteThis is so cool! I love that you started with the base of a laundry sorter! It looks beautiful.
ReplyDeleteThank you!! I'm glad I found a use for the laundry sorter! :)
DeleteBrilliant! Love it!
ReplyDeleteThank you! :)
DeleteLoving This! Thanks for linking up at "On Display Thursday".
ReplyDeleteThank YOU for hosting :)
DeleteLove this! It turned out so perfect. I will be featuring this in my favorite things friday over at www.hawthorenandmain.com
ReplyDeleteI'm glad you like it! Thanks for the feature! :)
DeletePINNING! Nicole ~ this is so adorable! I want to make a bar cart to go under my gazebo! Can I ask you, what is the sun tea "jar" elevated on? Or did it come that way? I have the exact glass jar, but nothing to elevate it on... Anyway! LOVE your creativity and how you made such a great table out of the laundry basket! Awesome. I would love it if you would link up to Merry Monday Linky Party! We'd love to share! Julia
ReplyDeleteHi Julia! Thanks so much for your kind comments! The drink jar is elevated on what looks like an upside down galvanized bucket. It came with it, but I'm sure you could find a bucket the perfect size to do this on your own! :)
DeleteThis is such a great idea! I come across several of those items while thrifting. PINNED IT!
ReplyDelete