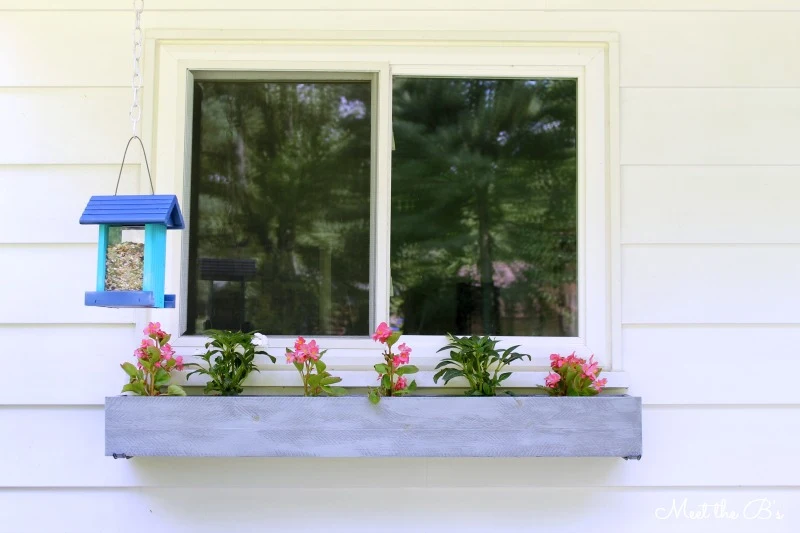
I kinda left you hanging in my windox box tutorial because I hadn't finished painting it and hadn't figured out how to hang it. So today, I'm filling you in on the rest of the details!!
So in my previous post, I left you with a completed wooden box.
To paint it, I followed the same steps as I did with my DIY bar cart, except I didn't prime! I painted the window box before the bar cart and had a really hard time because the cedar picket fence posts are very rough and pourous. I assumed that because the Rustoleum paint had primer in it, it would be fine. However, it took TONS of coats to get it to look decent with a smooth finish and no stains showing through. So I highly recommend using primer first!!! The bar cart went much smoother!
Step 1. Coat with primer. (This picture is from the bar cart since I didn't prime the window box. I highly recommend priming if you are using picket fence posts like I did!)
Step 2. Spray paint. I used Rustoleum's Multi-Purpose paint in "stone grey." You could always use a paint brush for this part too. I just wanted quick and easy!
Step 3. Dry brush with a light grey acrylic paint for a rustic look. To dry brush, dip the very tip of your brush into a small amount of paint. The goal is to not have a wet paint brush. Then very lightly brush your project in the direction of the wood grain.
Step 4. Seal with a weatherproof sealant. I used Rustoleum's.
Next is the fun part. Hanging it! Pete and I did some research and found that we should find the studs under our window and mount to them. Well no matter how we measured, we couldn't find them. And apparently stud finders do not work through aluminum siding. So one day, when I was at work, Pete and my wonderful father decided to just drill straight into the siding without worrying about the studs. And what do you know? It worked just fine!
We used window box brackets by Hampton Bay from Home Depot to hold up the box. There are weight recommendations on the package. You can always use more brackets if your box is bigger or heavier.
We had to drill extra holes in the brackets to accomodate the size and weight of our box.
Then we drilled pilot holes in the box to line up with the bracket holes. We used nuts and bolts to hold it onto the brackets.
Then I finally got to fill it with pretty flowers!!!
I love how it turned out! What do you think?
Check out the rest of my outdoor makeover:


This looks awesome Nicole! I love the look that you gave the wood with this and your bar cart :) And it looks so great next to your bird feeder!
ReplyDeleteThanks, Bre! I really love the texture that came out in the wood with the dry brushing. I'm ready to try it on some more projects :)
DeleteNice! So you put the plants in the box already potted?
ReplyDeleteNo, I actually filled the box with soil and took the plants out of the pot, but if the window is high enough that you can't see the pots, you could definitely just put the pots in! The box is wide enough for them. That's a good idea :)
DeleteI love this! i have always been a fan of window boxes. They are just too cute. Thanks for linking up at On Display Thursday.
ReplyDelete-Leia @ Eat It & Say Yum