With the holidays right around the corner, it's time to start thinking about Christmas decorations! And what could possibly be better than a little crafty Christmas decor? Today, I'm thrilled to be a part of the Handmade Christmas Ornament blog hop. Myself and twenty-nine other bloggers are bringing you tons of DIY ornament inspiration!
Last Christmas was our first married Christmas, so we really haven't accumulated many Christmas ornaments yet. In fact, our tree last year was pretty bare! So, I was really excited when I was given the chance to make some ornaments for our tree!
Recently, I decided to dive into the world of wood burning with my wood-burned cutting board gift. So when I was thinking about ideas for ornaments, I decided to play with the wood burning tool again by making some DIY wood slice ornaments. Practice makes perfect, right?
Materials:
View blog post for supplies
When I bought the wood slice for my
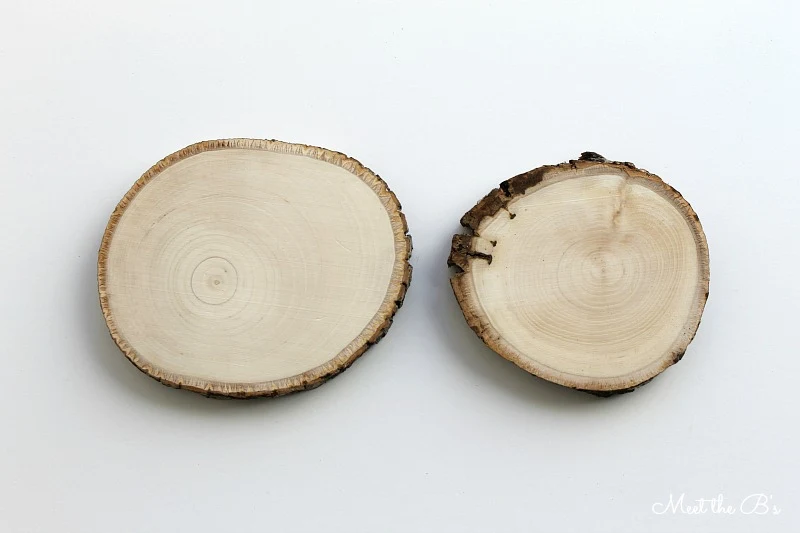
wood slice wall art, I picked up some small coaster sized wood slices as well. They are the perfect size for ornaments! (Note- the ones in the materials list are a size bigger than what I actually purchased. The coaster wood slices are not listed on their website. They are available in store at both Michaels and Jo-Ann).
Our tree is full of red, silver, and gold with lots of glitter, so I wanted my ornaments to be shimmery! I found a metallic rub and decided to give it a try. It was actually more difficult to use than I thought and definitely took some trial and error, but I love how it turned out!
When I first applied the metallic rub, I followed the directions and used a soft cloth to apply, rub, and buff it. This resulted in a caked on mess that didn't show the wood grain at all. What I was going for was a subtle shimmer. I sanded it all off and started over.
Next, I tried using my finger to apply it, but it turned out really streaky. This stuff dries fast, so it was difficult to get an even coat! This time I tried wiping it off with a wet paper towel and noticed that it was actually smearing the shimmer around. So then I switched to a slightly damp paper towel and tried wiping in a circular motion. Perfect! The shimmer was finally on the entire wood slice without looking streaky or covering the wood grain!
It's really really hard to see the shimmer in photos, but I promise its there!
This isn't the best photo, but I put it in the sun so you can at least kind of see the shimmer in the picture... maybe if you squint ;)
Or how about this? Ha!
Okay, okay, enough playing around! While I waiting for my now damp wood slices to dry, I hand-screwed in some eye hooks. You know, the kind for picture hanging. (The ones in the materials list aren't the exact ones I used because I already had some around the house). Be careful screwing them in so that you don't split the wood too much!!
Once the wood slices were dry, I used this easy text transfer method to leave a tracing of text on my wood slices. Go to my font transfer page for that tutorial!
Once my font was transferred, I used my wood burning tool to trace the letters. Follow the directions for your wood burner. Take your time! I recommend testing it on a similar type of wood first so you can get the hang of how fast the wood burns (some are quicker than others!). These wood slices actually burned pretty slowly so I ended up going over the letters multiple times.
Finally, I added some pretty red ribbon to hang my ornaments with!!
I really love how they turned out. They are the perfect combination of rustic and glam! (Man, I wish you could see them sparkle!!!)
Ready for more awesome ornament ideas? Head over to the blogs listed below! These ladies are all so talented!


Very nice! I love the natural look of your ornament. These would be fun to personalize, too!
ReplyDeleteSo pretty, Nicole! I love how they turned out!
ReplyDeleteI really like these, I want to try wood burning so bad. Thanks for walking me through it!
ReplyDeleteLOVE these Nicole! Definitely feeling inspired! I'm going to have to try my hand at some more wood burning!
ReplyDeleteI just bought a wood burning tool and made a cork garland out of it! I love it! These ornaments are very pretty - love the script you used!
ReplyDeleteSo cute, Nicole! Love these little wood slices!
ReplyDelete