A little more than three years ago, a great blogging friend of mine, Kristi from making it in the mountains, came up with a brilliant idea. She thought it would be fun to have several DIY bloggers all work with the same item and share the many different things we were able to create out of it. And so, the Monthly DIY Challenge was born. We've had a ton of fun with the challenge over the years, and I have created some of my favorite projects ever, like this wooden crate pet bed, this giant hanging chalkboard, and this modern farmhouse wall planter, just to name a few. And the girls I have been collaborating with on this year after year have become some of my very best friends. We've watched each other's blogs grow and evolve, shared biz advice, mom advice, and lots of laughs. Sometimes I think it's kind of crazy that I have a group of online friends, only a few of which I have met in person, but in all honesty, I don't know what I would do without those girls.
This post contains affiliate links for your convenience. For more information, see my disclosure policy.
So today, I am sad to announce that this is the end of the Monthly DIY Challenge. However, I am so thankful that it is not the end of the beautiful friendships I have made.
Not all of them were able to participate in this last round of the challenge, but do me a favor and stop by to visit them all if you have the time. These are some of the most creative women I know. I just know you will find something that inspires you:
Today, we are working with label holders. Since it's December, I thought it would be fun to make some ornaments. I love making ornaments and made some wood burned ornaments and feather boa ornaments a few years ago, but haven't had a chance for the past few years. It's always fun to add something new to the tree!
Materials:
- Wooden craft circles (I found a pack of them at Walmart)
- Gold paint pen
- Printed photo (I like to order photos to be picked up in store)
- Glue dots or photo stickers
- Label holders
- Sharpie pen
- Twine
- Hot glue
How to make your own ornament:
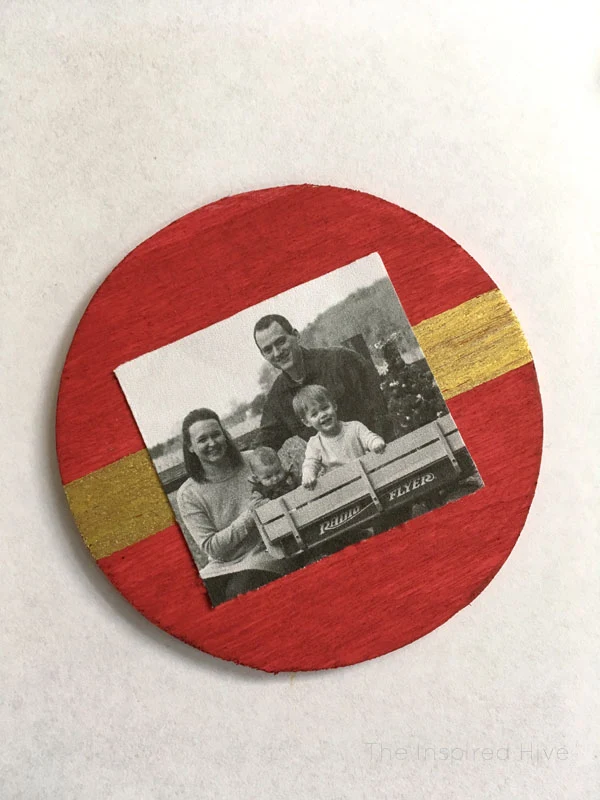
These ornaments were really easy to make. First, I painted the wooden circles red. Allow to dry.
Next, I colored in a gold section across the middle with a paint pen. Allow to dry.
I cut a photo to size, centered it, and attached it with photo stickers.
I attached my label holders using a small screwdriver. There are many types of label holders available. Some require screws and some have adhesive.
I wrote the year in the label holder with a Sharpie pen. You could also cut a piece of paper to size and put it in the label holder, but I really liked the look of the red background.
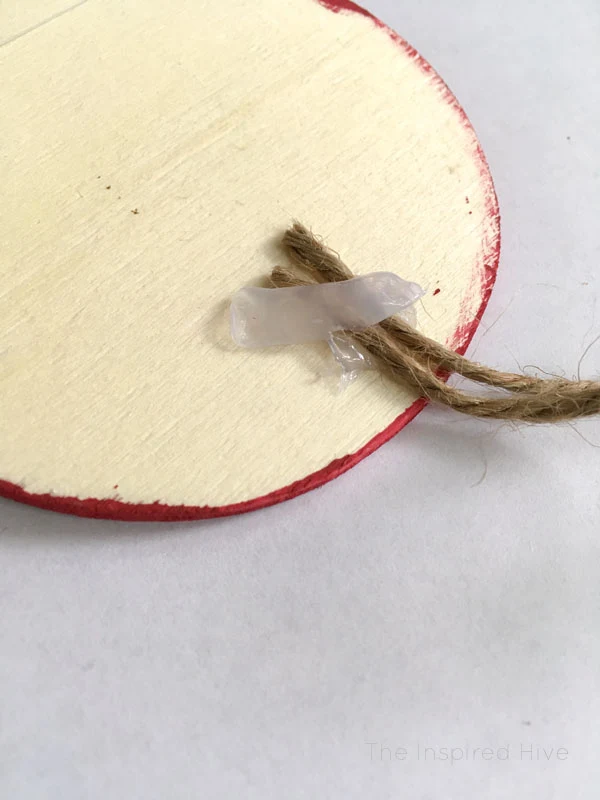
Last, I cut a piece of twine and used hot glue to attach it the back of the ornament.
In less than 30 minutes, I had a cute new ornament to add to the tree. It's fun to have one documenting this year of our life (new baby, big move, new house, new careers).
Check out my friends' label holder project ideas:


Oh my! This is so so so cute!!
ReplyDeleteThanks, girl! :)
DeleteWhat a sweet project, Nicole! If I have time before Christmas, I may use this idea to make some with a family reunion photo, and give them to my family members! Thanks!
ReplyDeleteThanks, Bre!!! That's a great way to use these! :)
DeleteAwww, I'm getting all teary reading your farewell paragraph! Mreh, I'm going to miss the MDIYC! We had some awesome times, fantastic projects, and of course developed some wonderful friendships along the way :) And your photo ornament is so sweet! I love the idea to make one each year to watch how your family grows :)
ReplyDeleteThanks, girl! I am going to miss our challenges! But so glad I still have my tribe gals!!! :)
DeleteAn adorable ornament, Nicole!! I love the idea of using a label on it! So glad I got to join in the challenge the past few months, it's been a pleasure!! :)
ReplyDelete