Easy tutorial for DIY air dry clay coasters
I always love trying new craft methods and supplies. It really challenges me creatively when I do something new. Lately I have been trying to perfect my skills working with clay. I still have a lot to learn, but I've had fun making a few simple things while I learn the ropes. To read what I've learned so far, check out my eight tips for working with air dry clay. Today, I'm showing you how I made these adorable botanical coasters using air dry clay and ferns from my backyard.
Thank you to Activa Products for supplying clay for this project!
This post contains affiliate links for your convenience. For more information, see my disclosure policy.
You might also love...
This post contains affiliate links for your convenience. For more information, see my disclosure policy.
You might also love...
Materials
- Air dry clay
- Rolling pin
- Round clay mold, cookie cutter, aluminum can, or cup
- Wax paper
- Bowl of water
- Fern cuttings or other botanicals
- Modpodge (I used matte finish)
- Sponge brush (this set includes Modpodge and sponge brushes together!)
- Felt
- Fabric glue
How to make air dry clay coasters
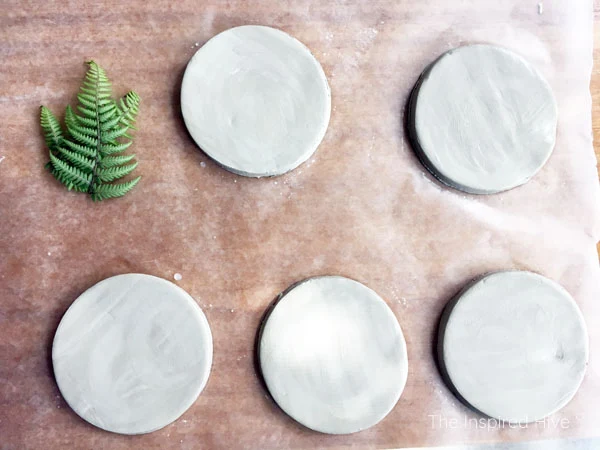
Use your hands to roll out and flatten your air dry clay to about a quarter inch thick. Then use a rolling pin to smooth it out. I like to put wax paper in between the clay and my rolling pin to keep the rolling pin relatively clean.
Then use a round mold (or anything round- I used an empty aluminum spice rub can from the recycling bin!) to cut out round shapes. Press it into the clay and then remove the surrounding clay.
Smooth out the circles you have created using a little bit of water on your fingers. This will remove most small imperfections.
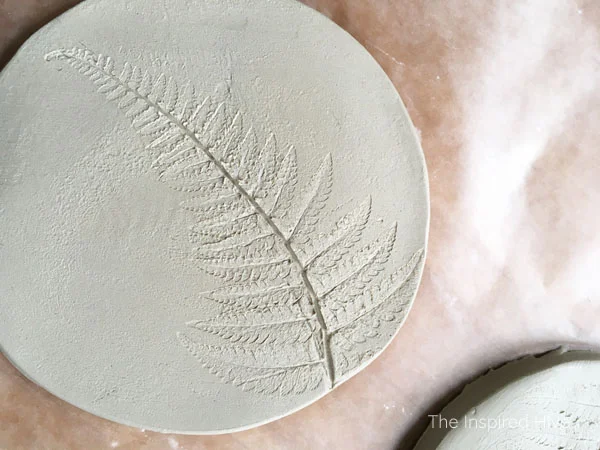
Gently place your botanicals on top of the clay. Cover with wax paper and lightly roll with the rolling pin. The goal is to leave an impression without thinning out the clay.
Remove the botanicals from the clay. If you are having trouble, use a toothpick to gently lift the edge of the plant.
Allow to dry completely. This took almost four days for me, but we live in a very humid climate, so you might find that yours dry faster.
Once dry, use a sponge brush to coat with modpodge. Allow to dry.
Use one of your dry coasters to trace onto felt. Cut out felt circles and glue to the back of the coasters using a small amount of fabric glue. Allow to dry.
These cute coasters have held up great to moisture from drinks so far. I think I might try this again using some other plants and leaving them in the clay instead of removing them to add a touch of color. You could also paint them before modpodging if you would like. I attempting to use a dark wax on one of them after modpodging thinking that it would leave an outline in the fern impression, but it didn't look great. I kind of like the naked look best!
What do you think? I think these would make an adorable gift idea as a little set with some twine wrapped around them. Next year's stocking stuffer maybe? 😉
Have you ever tried working with clay? Let me know what you made


No comments
Post a Comment