There comes a time when your baby decides they need to put everything in sight in their mouths, and it becomes nearly impossible for Mommy to wear jewelry anymore. So you can either give up on looking stylish altogether, or you can wear baby friendly jewelry! I've seen silicone teething necklaces at most of the big baby stores, but they are kind of expensive, and I haven't really seen any colors that fit my style. So, I decided to try making my own, and it was SO easy!!!
Related posts:
- Must haves for summer with baby
- Favorite Pandora stations for baby
- Breastfeeding must-haves
- How we sleep trained our baby
Materials:
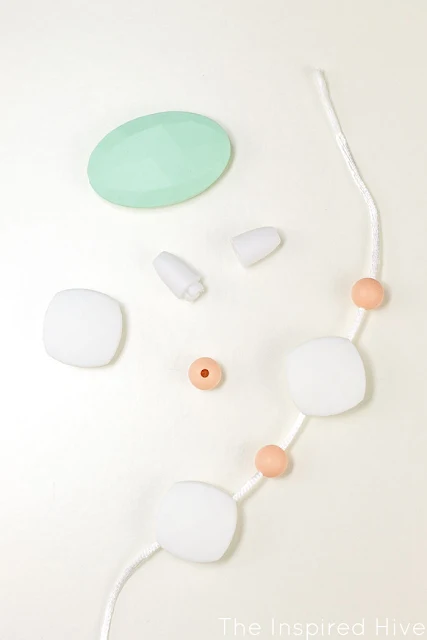
- Food grade silicone beads (I ordered from Tesla Baby and Simply Sparkle Supply)
- Silk cord (includes break away clasps)
- Scissors
How to make your own silicone teething necklaces:
I searched the internet for some fabulous silicone bead sources and ended up ordering from a couple of different Etsy shops in order to get the colors I wanted at the best prices. I ordered beads from Tesla Baby and Simply Sparkle Supply. I bought the silk cord on Amazon.
First, I threaded all of the beads onto the silk cord. I experimented with different variations in color, shape, and size. If you are having trouble threading the beads, you can put a little bit of tape on the end of the cord to keep it from fraying.
Once all of the beads are on, cut the cord to the length you want with scissors. I held my necklaces up to my shirt while looking in a mirror and cut according to where I wanted the necklace to rest. *TIP- I made a few of my necklaces shorter which looks really cute but also leads to my baby trying to choke me when he pulls on the necklaces! Next time, I'll be making them all long necklaces ;)
Once you have them cut to length, tie knots on either side of the beads to keep them from sliding around.
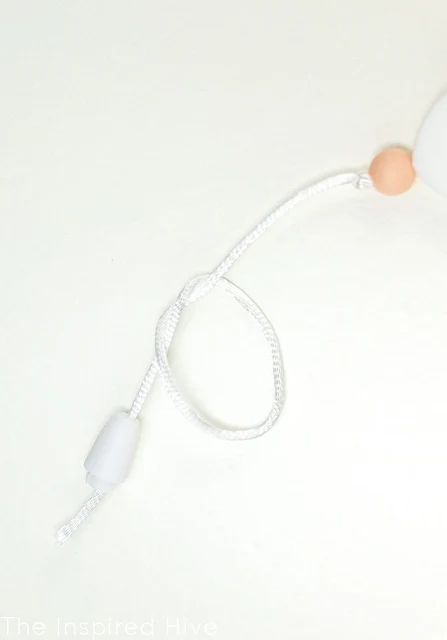
Then, thread the clasps onto the silk cord. Slide the break away clasp on a few inches, tie a knot at the very end of the cord, then slide the clasp back to the end and over the knot (so that the knot is inside of the clasp.
To keep the clasp from sliding down the necklace, you can also add a knot right before the clasp. You have to do this after tying the knot that goes inside the clasp, otherwise you won't have enough length left to tie. Just loop the clasp around itself and pull through while positioning your knot right below the clasp.
There are so many different combinations and looks you can try! You can even add knots in between each bead.
Once you have all of the supplies, this craft is super easy to do! And for the same price of one teething necklace at the store, you can make several necklaces!
Pin it for later:


Oh my gosh this is so cute! And such a great idea! E is already grabbing at everything and putting it in her mouth. I might need to make me some of these :)
ReplyDeleteSuch a great idea, Nicole! Wish I had these when our kids were babies! Enjoy your long weekend, friend!
ReplyDeleteKendra @ www.joyinourhome.com