Hey, friends! It's the second Wednesday of the month, which means it's Monthly DIY Challenge time! (Find out more about our challenge here!) This month, we teamed up with Leather Hide Store to bring you twelve leather upholstery project ideas and a giveaway!
Leather Hide Store provided leather upholstery for this post.
This post also contains some affiliate links for your convenience. See my full disclosure policy.
I had this old disgusting storage cube ottoman that was sitting in the basement, falling apart. It was screaming for a little love!
Materials
-old storage cube ottoman
-leather upholstery (I used this smokey grey leather)
How to update an old storage ottoman
First, I removed all of the old "pleather" covering from the ottoman (soooo many staples to remove!). I quickly realized that the ottoman frame was not of great quality and would be difficult to work with. I decided to use the lid of the storage ottoman and create a new base.
To reupholster the lid, I measured and cut out a square of leather larger than the lid.
If you don't actually have an old ottoman lid to use, you could easily make one by first covering a square piece of plywood with quilt batting or upholstery foam.
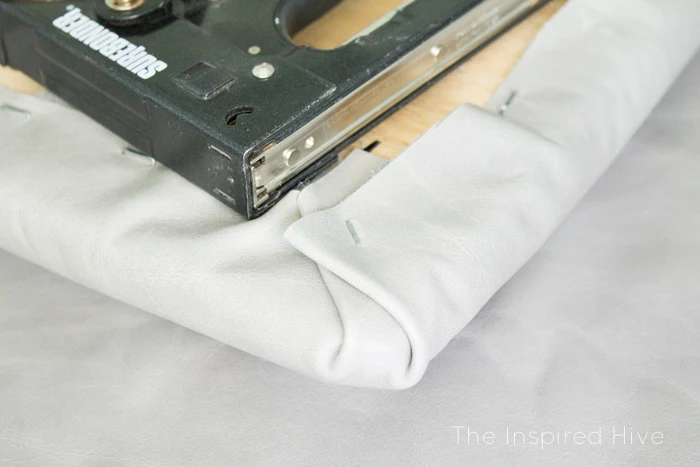
I used a staple gun (here's a newer version of mine) to attach the leather to the bottom of the lid.
The corners were a little tricky, but I was able to gather and fold the leather a bit and then staple it down.
The corners certainly didn't come out perfect, but for my first attempt at upholstering something, I think they turned out okay!
To hide the plywood underneath the lid, I used the piece that was removed from the original lid which was attached with pins. You could create your own by maybe covering a piece of cardboard with fabric.
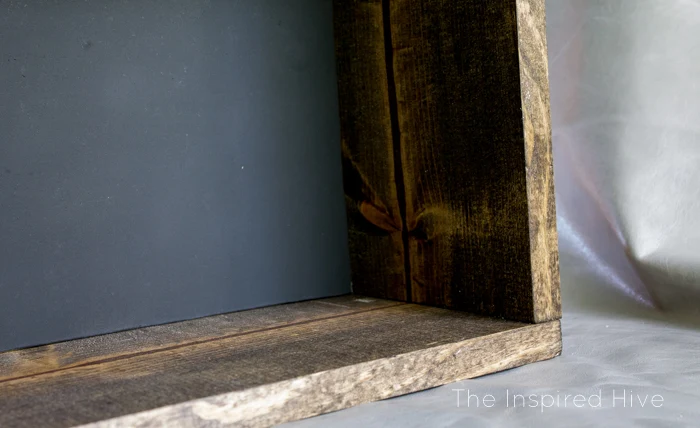
To create a new storage compartment, my husband and I measured and cut four pieces from a 1" x 8" x 6' board to fit under the lid using our circular saw. We created a box by nailing them together with our brad nailer. I stained the box with my favorite stain.
Then, I stained the legs and attached them to the box. To attach them we used triangle shaped pieces of wood that I removed from the original ottoman frame (instead, you can cut your own from a 1" x 2" using a hand saw and a miter box). We attached the triangles to the bottom corners of the box using Liquid Nails. Then, we drilled pilot holes into the triangles using a cordless drill. The legs easily screwed into the pilot holes.
We cut the original ottoman bottom to fit inside of the new frame and spray painted it black. It slides down into the box and rests on top of the triangular pieces. You could create your own by cutting a piece of thick cardboard or thin MDF board to use as a base for the storage compartment.
I've never created any type of furniture before, so I was a little unsure of how this project would turn out. It ended up okay in the end!
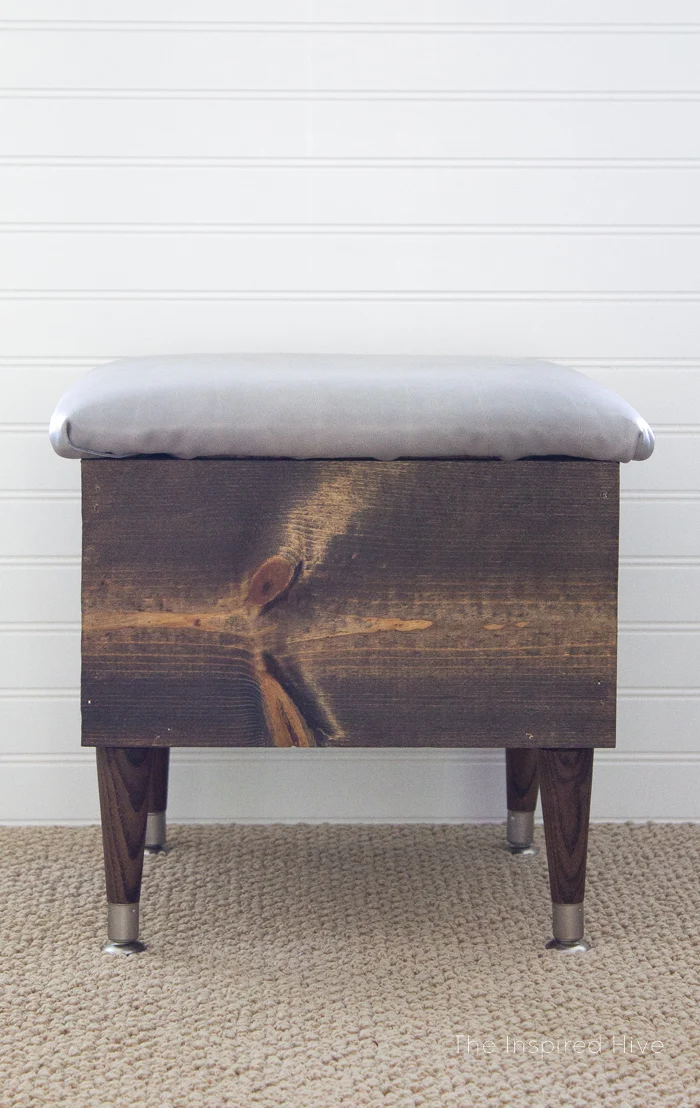
It's the perfect easy DIY leather upholstered storage ottoman and footstool!
Planning a leather project of your own? Leather Hide Store has a fantastic guide to help you calculate how much leather you need! Search by furniture type or use the leather calculator at the bottom of the page!
Now for the fun part! Leather Hide Store is giving away one leather hide of the winner's choice from their "Our Collection" or "Special Collection." The giveaway is open to residents of the US and Canada. Use the widget below to enter the giveaway!
Ready for more great leather project inspiration? Check out all of my friends ideas below:


Ahhhhh, I need this in my life! SUCH a brilliant idea Nicole! And I love the mix of leather and wood!!!
ReplyDeleteThis is so cool, Nicole! Rustic and modern at the same time. The gray leather is gorgeous too.
ReplyDeleteThis turned out amazing! Love the color of the leather!
ReplyDeleteWhat a great update! I have one of these storage cubes too and was wondering how I could class it up - this is perfect!
ReplyDeleteIt doesn't even look the same! Love this makeover and you know I love those legs!
ReplyDeleteThis is too cute! I love that it's basically 100% DIY... that's my kind of project ;)
ReplyDeleteWow! Nicole - that was a lot of work! It was worth it though. I love the color of your leather.
ReplyDelete