Yay for Monthly DIY Challenge day!!!! I have to admit, this month's challenge kicked my butt, but mostly because I was knee deep in the final days of the One Room Challenge too! I was scrambling at the last minute to get this project done while putting all of the finishing touches on the rest of the kitchen makeover. The full reveal is tomorrow and you won't want to miss it! I'm SO excited, y'all!!!
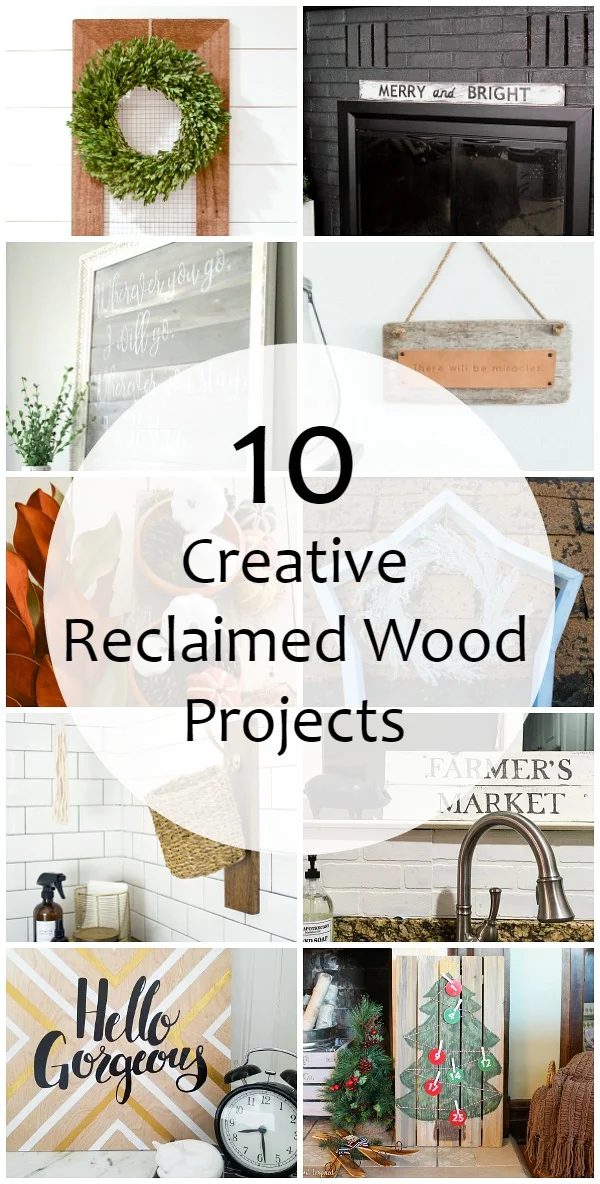
Anyway, if you're new to our Monthly DIY Challenge, each month my best blogging buddies and I choose a challenge theme and each come up with our own unique idea. It's SO much fun! See our past challenges here. This month's theme was reclaimed wood, and I love everyone's creations! Since I was drowning in multiple challenges, I needed something quick and easy, so I whipped up a simple farmhouse style wooden sign for the kitchen!

Anyway, if you're new to our Monthly DIY Challenge, each month my best blogging buddies and I choose a challenge theme and each come up with our own unique idea. It's SO much fun! See our past challenges here. This month's theme was reclaimed wood, and I love everyone's creations! Since I was drowning in multiple challenges, I needed something quick and easy, so I whipped up a simple farmhouse style wooden sign for the kitchen!
This post contains affiliate links for your convenience. For more information, see my disclosure policy.
Materials:
- Reclaimed wood
- Saw
- Paint (Sherwin Williams "Alabaster")
- Paint brush
- Printed text ("Farmer's Market")
- Pencil
- Archival ink marker
- Wood glue
How to make a reclaimed wood sign:
Unfortunately, a deer jumped over our wooden fence and broke it in several places. Fortunately for this month's challenge, that gave me some naturally weathered wood to work with! I took one of the fence pieces from the yard, removed the rusted nails, and wiped the dirt and spider webs off (yuck!). It was hard to photograph, but this piece was actually probably about four and a half feet long.
I cut the piece in half to give me two shorter pieces. I applied vaseline to the corners and along parts of the edges to prevent paint from sticking in those areas to give it a more distressed look. Then, I lightly brushed on some leftover white paint I had from the One Room Challenge kitchen makeover (Sherwin Williams "Alabaster"). Once dry, I lightly went over it all with a sanding block to remove more paint.
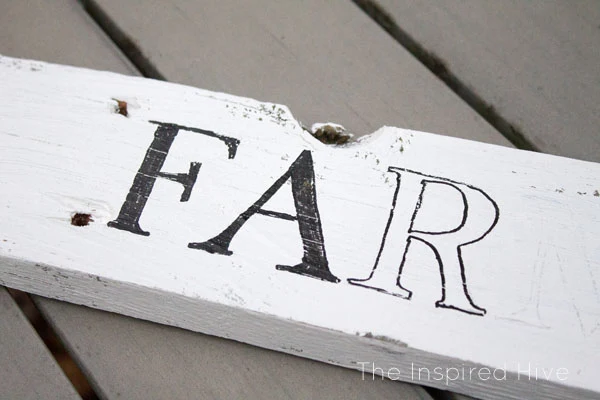
Next, I printed out the words "Farmer's Market," and used my favorite method for transferring text to make signs. You can find a full tutorial on how to do that here, but it's really easy and only involves using a pencil to shade the back of the text and then trace over the letters. Learn how!
I traced my penciled letters with a black archival ink marker (archival ink prevents fading) and filled them in. I was expected to have to dry brush the white paint over the letters to make them look distressed, but since my wood had so many natural scrapes and divots in it, the letters looked distressed all on their own!
I attached the two stacked pieces of wood to each other using wood glue. And that's it! An easy DIY farmhouse style wooden sign!
I had planned on hanging this above the kitchen window, but then I decided the window sill itself needed a little love!
Check out 9 other reclaimed wood project ideas:

*This post may contain affiliate links. See my full disclosure policy.


LOVE it Nicole! Can't wait to see that finished kitchen space!!!
ReplyDeleteThis is so totally adorable! Joanna Gaines would be proud :) Can't wait to see the final kitchen reveal!
ReplyDeletePerfect sign for your kitchen, Nicole! Can't wait to see your kitchen! xo
ReplyDeleteThis looks great in what I can see of your new kitchen! :-) Excited to see the reveal so soon!
ReplyDeleteThis looks so perfectly weathered and rustic. Love it!
ReplyDelete