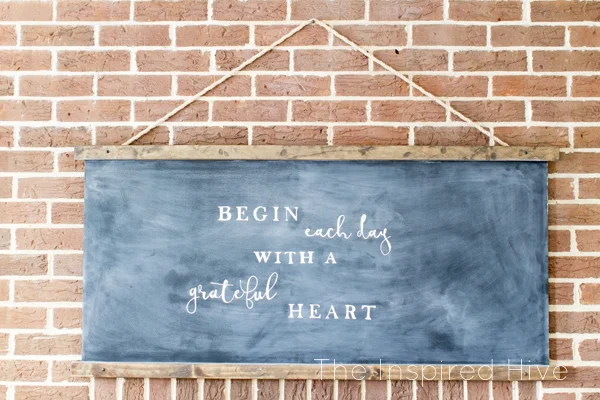
I've also been trying to tie the style of the rest of the house into the fireplace room because it is our playroom but also the first room you see when you walk into the house. Why not build a giant farmhouse style chalkboard to hang on the brick wall? I'm so excited for how it turned out! And I'm even more excited for you to see the awesome chalkboard projects my friends came up with.
This post contains affiliate links for your convenience.
For more information, see my disclosure policy.
For more information, see my disclosure policy.
Related:
Materials:
- Chalkboard panel
- 1 x 2 's (2)
- Hammer, saw, etc. (for distressing)
- Wood stain
- Screws and nuts (4)
- Jute rope
- Cable staples
- Chalk
- Chalk marker
How to make a farmhouse style chalkboard:
I had every intention of buying a sheet of MDF board and painting it with chalkboard paint, but as I was going down the aisle in Home Depot to grab my MDF, something else caught my eye... Did you know they sell pre-painted MDF chalkboard panels?!?! Mind blown! So, I opted to save myself half the cost plus the time it would have taken me to paint it myself and went ahead and bought the one that was already prepped and ready to go! I'm all for doing it yourself (obviously!), but when you can save time and money by not doing it yourself, the answer is clear. 😉
Once I got my chalkboard home, I got to work on the frame. I cut some 1 x 2s to be long enough to hang one inch past the edge of the chalkboard on each side. Then I distressed them by attacking them with a hammer, a saw blade, and some sand paper. Be careful. Don't go too crazy! 😜
Next, I measured and drilled some pilot holes for attaching the 1 x 2s to the chalkboard. Then, I stained them using one of my favorite stain colors. I love the distressed parts pick up more stain. It adds so much character!
To attach the 1 x 2s to the chalkboard, I lined them up along the bottom and top edge and used a drill to attach with screws. I decided to use some acrylic black paint to make the screws blend in a little better.
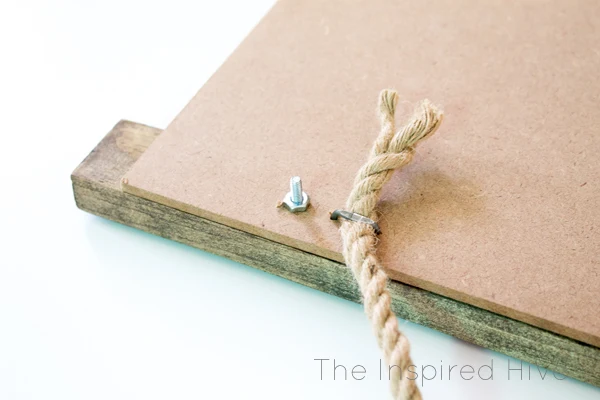
I added nuts to the screws from the back to keep it nice and secure. Next, I attached the jute rope. I brainstormed many different ways to hang the chalkboard from this rope, and my husband remembered we had these electrical cable staples from our laundry room addition. They worked perfectly for this!! You just hammer them right in. The rope is nice and snug. It won't be budging any time soon!
Now, before writing on a new chalkboard, you have to season or you will get "ghosting." Have you ever written on a chalkboard and then when you tried to erase it, you could still see the old letters? Yep, ghosting is not our friend. Season your board!
How to season a chalkboard:
To season a chalkboard, cover the entire thing in chalk using the side of a piece of chalk. Warning, this creates lots of dust!!!
I shade the whole thing vertically, and then the whole the horizontally. This way you fill every little pore with chalk dust.
Then, use a soft cloth to remove the chalk dust from the board. You should now have a nice aged chalkboard finish that is ready for writing!
How to add text to a chalkboard:
I love making signs, so if you want a more in depth tutorial, step by step photos, and more project examples, you can take a look at my page on how to transfer printed text. It's actually fairly easy.
Print your text in the fonts of your choice. Cut them out and arrange them on your chalkboard. Shade the entire back of the print with chalk (for non-chalkboard projects, shade with a pencil). Trace the letters on the front using a pencil. When you lift the paper, you should see a faint chalk outline on your board that you can then trace regular chalk or a chalk marker.
I chose to use a chalk marker for this project so that the letters would stand out more.
I love how our new chalkboard looks hanging above the fireplace. It's the perfect piece of large scale art.
Ignore the reflection of a zillion toys in the glass. This is real life y'all. 😉
It kind of reminds of an old schoolhouse chalkboard... fitting for a playroom, right?!?! :)
It has become the focal point of the room and really pulls the whole space together.
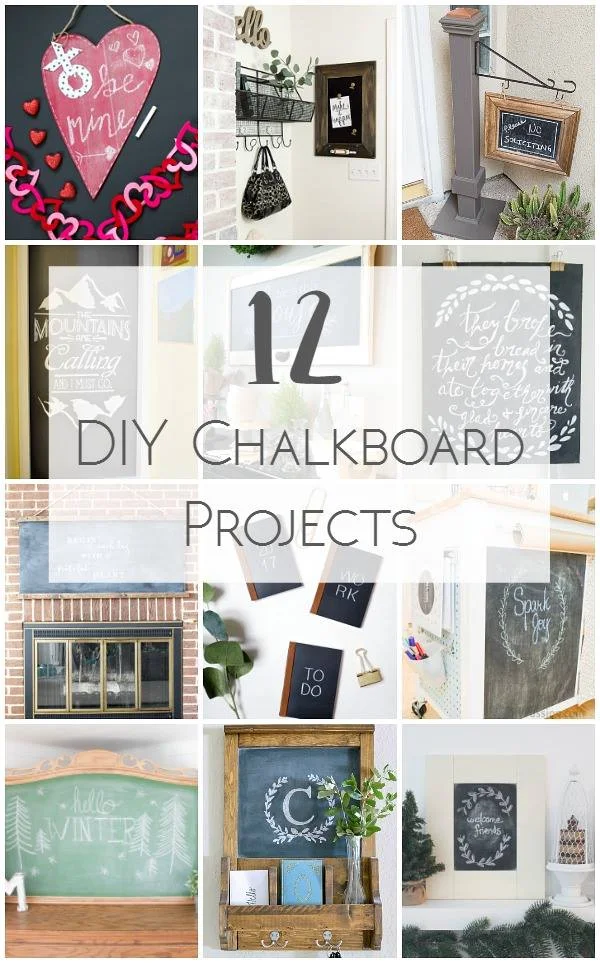
Check out 12 other chalkboard ideas:
Pin it for later:

*This post may contain affiliate links. See my full disclosure policy.


Oh, this is SO cute! I love the wood detailing on the edges. Joanna Gaines would be proud! :)
ReplyDeleteThanks, Erica! The addition of wood is my favorite part!!! :)
DeleteThis is gorgeous, Nicole! I love how you framed it.
ReplyDeleteThanks, Amy! :)
DeleteLove this so much! You did such a great job!
ReplyDeleteThank you, Samantha!!! :)
DeleteI love this! Such a great idea. Yours looks super cute. Definitely saving so I can do this :)
ReplyDeleteThanks so much, Ericka!!! :)
DeleteHi Nicole-
ReplyDeleteVisiting via Remodelaholic link to Hometalk...I love your chalkboard project and was wondering how it has held up, if you used it as a chalkboard, that is? TIA
Hi Lauren! Thanks for stopping by! It has held up great so far. Using chalk markers instead of real chalk does leave a little bit of staining, but Windex does a good job of removing it. Then I just re-season the board with chalk before creating my next design. Otherwise, no issues whatsoever! Hope this helps :)
DeleteThanks! I think I'll give it a shot ;)
Delete