Some of my favorite transformations are the ones that involve simple updates. Don't get me wrong- I love a huge overhaul of an awful space, like the incredible before and after of our playroom makeover, but I also love the huge difference that little things like a bit of paint and some new hardware can make.
I recently shared with you our design plan for our powder room, and I'm excited to show you phase one today!! We still have a long way to go, but it already feels so much better. Our goal in this first phase was to quickly make it feels more "us" and to keep it simple.
I recently shared with you our design plan for our powder room, and I'm excited to show you phase one today!! We still have a long way to go, but it already feels so much better. Our goal in this first phase was to quickly make it feels more "us" and to keep it simple.
Sherwin-Williams provided product for this post. As always, all opinions are my own.
This post contains affiliate links for your convenience. For more information, see my disclosure policy.
This post contains affiliate links for your convenience. For more information, see my disclosure policy.
Here's a little refresher of what the space looked like before:
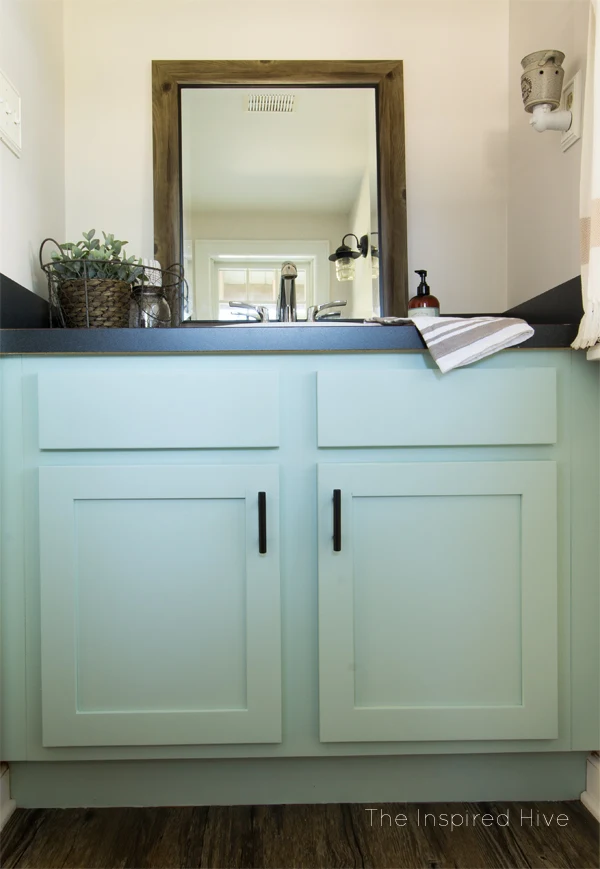
And here it is now!
We were able to fairly quickly transform this space on a budget and with minimal work! PS- A little real life for you... This bathroom is TINY, so envision me trying to suck it in, squatting over the back of the toilet with a wide angle lens to get these photos... #bloggerlife 😂
Four easy half bathroom updates:
1. Paint the walls
I am always blown away by how different a room feels with a fresh coat of paint. We covered those yellow walls with Sherwin-Williams "Eider White," my favorite go to barely-there greige. The room feels so much brighter and bigger! If you want a small space to feel larger, choose a light shade!
2. Install budget friendly flooring
Our bathroom had old ugly linoleum sheeting on the floor. We plan to eventually tile the floor, but we wanted to do something quick and budget friendly for now. We want to live in the house a little longer before making more permanent decisions, like tile. In the mean time, we installed peel and stick planks right on top of the linoleum (I highly recommend giving the floor a deep clean using a TSP cleaner before applying the planks!!!) We updated this floor for $35 with this case of peel and stick planks. I couldn't believe we got away with spending so little money on the floor!
3. Paint the vanity cabinets
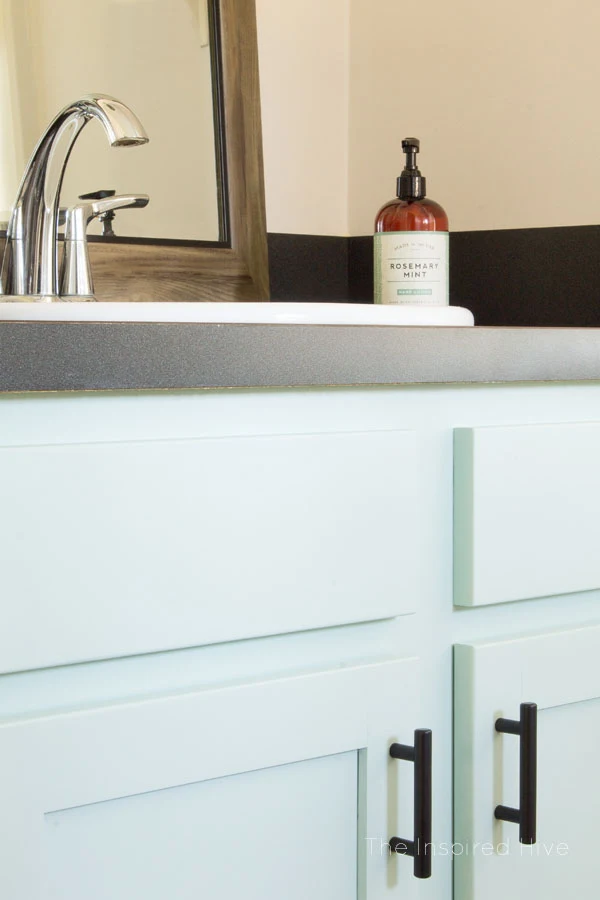
I had my heart set on minty cabinets. I'm a lover of neutral colors, but I've also always been a huge fan of all things in the mint/teal/turquoise realm, and I wanted to add a little pop of color to this room. I searched for the perfect subtle mint and settled on Sherwin-Williams "Waterscape." I pretty much followed the same steps as I did when I painted our kitchen cabinets, except I only used a brush, not a sprayer, since there were only two cabinet doors.
For the kitchen, I used ProClassic Acrylic-Alkyd paint, and was seriously impressed! This time around, I planned to use the same paint but decided to ask Sherwin-Williams what they would suggest. They recommended their Emerald Urethane Trim Enamel for my cabinets. I love this paint even more! It went on so smoothly,and there's not a brush mark in sight! It has the look, feel, and durability of an oil based paint, so it should hold up well despite our kids' best efforts 😉
4. Install new hardware
Our cabinets didn't have any hardware, so I decided to add some matte black pulls. While pulls aren't totally necessary, I think they're a great easy and affordable way to upgrade cabinetry.
Sources:
- Walls- SW Eider White
- Cabinets- SW Waterscape
- Floors- Traffic Master "Walnut Ember Grey"
- Cabinet pulls- Probrico Flat Black Pulls
- Mirror- Hayneedle
To Do List:
Paint the wallsInstall peel and stick flooringPaint the cabinetsInstall cabinet hardware- Switch out tan outlets for white ones
- Install skinnylap backsplash
- Install new matte black accessories
- Find new window treatments
- Update countertop
- Update sink and faucet
- Find artwork for under side wall sconce
- Decorate and accesorize
Have you ever painted cabinetry? I would love to hear about your experience!!


great work !
ReplyDeleteOh man! I just painted my in laws kitchen cabinets wth the SW Emerald Urethane trim enamel and though it looks beautiful, it’s been 5 days and still isn’t hard and scratches off easily. How long did it take yours to get really hard?
ReplyDeleteHi! I apologize I didn't see your message until now! I'm sure you have found a solution by now, but this paint seemed fully cured to me within a week or so. It's a really tough cut and I greatly prefer it to the paint I previously used on our kitchen cabinets. I'll be using this from now on!
Delete